Pages

Saturday, January 31, 2015

How To: Get This Face

Hey ya'll! I apologize for the absence this past week!! I began the last leg of my Masters degree in School Counseling as an intern at an Elementary School! I have been in a Masters program for a little over a year and have to say I cannot wait to be D O N E!!!  I have been trying to perfect my "makeup routine" for quite some time now and finally have found some products that I really love. 
A bit of honesty....I have suffered from some pretty serious acne since..well..my whole life! I can't remember a time where I didn't have breakouts. I have always envied girls with beautiful clear skin! Especially those that don't even have to wash their face every day...UGH! What is life?!!!
I will say that still having acne later into my 20s is pretty frustrating!! I recently had to stop taking a prescription birth control that I have been on since my teens due to a blood condition. (nothing crazy I will live hehe). The help from this birth control is the only thing that has given me any relief  from the acne and I have tried everything!! These products that I am sharing with you all not only do a fabulous job of covering whatever happens to be on my face at the time but they also seem to be nice to my  super sensitive skin. 


Untitled #3


Primer| After moisturizer I have recently added primer to my routine. For the longest time I skipped this step because I was like...right...another product to clog my poors. But really this Benefit POREfessional primer acts as a barrier for the my skin vs. the foundation and makes everything stay in place all day long!! I believe this particular primer also helps with oil too because on top of the acne my oil levels are off the charts!! 
Foundation has been a touchy subject for me for the longest time! What do I use that is not bad for my skin and keeps me from becoming a grease ball during the day and does it match my skin and will it last?!!?! Well I feel like I have found my holy grail of foundations Estee Lauder Long Wear. This foundation is beautiful!! It blends so nicely and their are a million color options for every type of skin tone! What else could it possibly have to offer you ask?? When it says long wear it AIN'T messing around!!! This stuff is like leave your powder at home because their are no touch ups needed good!! Be warned: You will need some serious makeup removing powder to truly deep clean your face at night or whenever you take off your makeup. I use makeup wipes then every other night use my Clarisonic to get a really deep clean. 
Concealer is a non-negotiable people. If nothing else get yourself some concealer and cover those dark circles...because let's be real...we ALL have them!! I have used Maybeline Instant Age Rewind forever and will until i'm old and wrinkled (but that could be forever since it is age rewind...get it?!) 
Powder| I learned a couple years ago that a super important step in your makeup routine is to use a powder on top of your concealer to set the product and keep it from sliding around all day long. I have used Clinique powder since I was in high school and completely stand by it!
Bronzer & Blush| For every day I don't take the contour process too serious. But trust me I can chizzle cheek bones with the best of them!! I mainly just give my face some color..or life because for 9 out of the 12 months of the year it is a crime for me to be as pale as I really am. I have been using a Sephora bronzer and Nars Laguna blush combo and I am a huge fan!
Brows...bro! I am totes not one to take 19348 hours and draw on new eyebrows because let's be real...ain't nobody got time for that! For me the Benefit Gimme Brow is perfect! You just swipe it on to give your brows some color and definition and tame those crazy hairs.
Eye balls - For every day I just curl my lashes and use both of the mascaras listed Covergirl Lash Blast & Loreal Telescopic. The eyelash struggle is real ya'll!! My lashes are barely visible so they need some TLC every day! I love this mascara combo!! If it is anything more than school I will take the time to do some eye shadow from my favorite Naked palate then use an eyeliner pen with a felt tip like this Bobbi Brown to make it super easy to get a very "chill" cat eye. Because their is totally such a thing right?! 

Well..I think that is it folks! I'm positive I am forgetting something...My routine starts by throwing my hair on top of my head and cranking up the jams before I can do anything to my face. Its a process and I like to think of it as a painting. I just keep trying new things until I like the way it looks. 
Hope you all enjoy these products as much as I do!! Let me know if you use any of them or what your favorite products are!


XO.
Elizabeth


Sunday, January 25, 2015

Cookie Sunday: Death by Chocolate


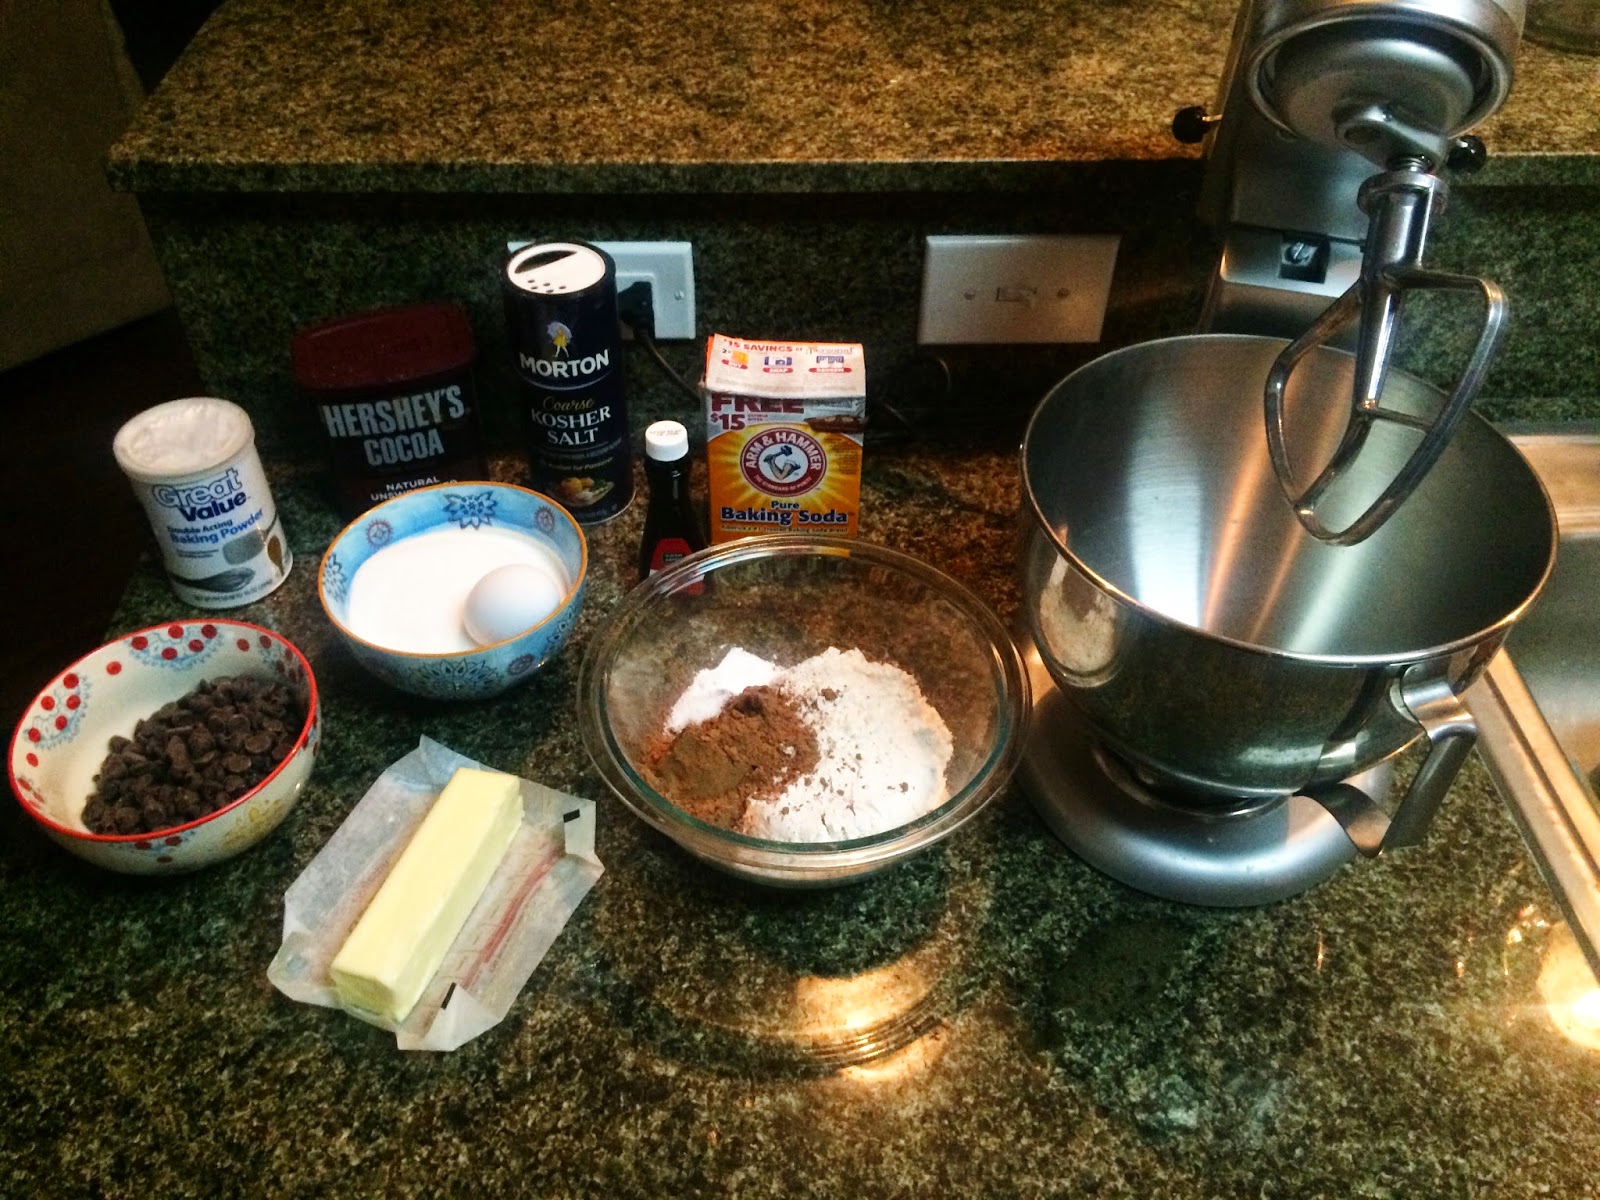
You know what today is y'all: Cookie Sunday!!! I asked the hubby what he would like to see for Cookie Sunday and his answer was double chocolate cookies. So double chocolate cookies it is. To be honest, I'm not a double chocolate lover and these bad boys should be considered death by chocolate cookies!! My favorite cookie is a chocolate chip with the perfect amount of chocolate to cookie. Just enough to get a small chocolate surprise in every or even every other bite. These cookies are not for the faint at heart. If you aren't game for rich, dark, decadent chocolately goodness then these just aren't the cookie for you. Here we have the cast of ingredients:

1 stick of unsalted butter: room temperature
1 cup granulated sugar
1 large egg
1 tsp vanilla
1 1/2 cup all-purpose flour
1/3 cup unsweetened cocoa powder
1/2 tsp baking powder
1/2 tsp baking soda
1/2 tsp salt
1 cup semi-sweet chocolate chips/chunks


We all know how cookies begin: butter + sugar become besties!! Cream those babies together until they are basically one. Add 1 large egg + 1 tsp vanilla and keep on mixing!!


For the dry ingredients mix the four, cocoa powder, baking soda/powder, salt together in a bowl and add it all at once to the butter, sugar mixture. Mix on high just until the dough comes together. It will seem a little dry but thats ok :)


Add the chocolate chips to the batter and you are ready to scoop! Scoop scooop ay dooop scoop ay doop scoop ay doooopaay...oh wait. That's not the song!! HeHe 


Use your cookie scoop and drop cookie dough onto a baking sheet lined with parchment paper. Bake these rich little bites of deliciousness for about 10 minutes. Make sure to check the cookies and not over bake them. Because they are dark chocolate cookies it is easy to bake them too long and no one wants a crispy cookie?! These should be moist on the inside and gooey and did I mention delicious?! 


Like I said before....these are not really my jam. However, a good sprinkling of sea salt takes these cookies to a level that I can totally enjoy. Why does salt have to be so naughty?!!! Ugh I just want everything in life to have a nice sprinkling of sea salt...is that wrong??


I hope you all enjoy these cookies as much as my hubby did. After all in my house we share the happy husband/wife = happy life saying! Until next Cookie Sunday...
XO.
Elizabeth 


Thursday, January 22, 2015

Dutch Braid "Tuck Under" Hairstyle


Hey ladies.... (yeah?!) do you love an effortless hairstyle that looks like you spent hours on it or do you love an effortless hairstyle that looks like you spent hours on it?!! [see what I did there?! ;) ] Well I sure do! I want to take this moment to say I 100% represent for the greasy hair girls of America. Im talking wash every day, sometimes twice a day, or day two hair looks like I didnt pay the water bill and couldn't shower greasy. Contrary to the words of the wise Juvenile "she get it from her mama" I got it from my daddy. I envy my mothers thick beautiful black hair. That woman can literally go a week without washing and it looks better on the last days than it did on the day of the wash. My dads hair color has also transitioned from red to brown to blondish grey throughout his life and I can say that I also get my hair color from that sweet man. I am forever changing my hair...chopping..coloring...growing..chopping. It's a viscous cycle! My hair is in the awkward in-between short and middle length stage right now where its just long enough to throw on the top of my head and only need 2 bobby pins instead of 239839847 that I have needed the past few months. 
This past summer I was browsing Pinterest looking for inspiration for a hairstyle for an upcoming wedding. I can safely say some of the best and worst decisions I have made have been because of Pinterest. Home DIY disasters, OOTD misses, and the epic foodie fails. But I stumbled upon a picture of this braided hairstyle that involved little to no time and was somewhat of an "updo" with all of the hair tucked into a head band. I started to think...headbands. We are all familiar with the dreaded things. Its like you have to have a specific shaped head for that thing to stay put. Playing sports for the majority of my life I know all too well the evolution of the headband. It stays where you put it for approximately 10 minutes then it starts sliding in the most unflattering places on your head. I was definitely skeptical about all my hair being tucked into the two strings of the headband. BUT this "do" had the front part of the hair, or the bangs, braided around the headband. AH HA! I thought...of course it will stay!! So I gave it a go and it was a huge success! So many compliments and literally took 10 minutes to accomplish. I was browsing through my old pictures came across this picture of the braided "do". Obviously I keep all my selfies that I think I look bomb in....don't judge me!Here I was tan, my winged liner was even, & my contour was on point!  

[[regular braid above]] 

I admit: I rock a braid where my bangs should be whenever I can. With growing my hair out comes the super odd lenghth bangs that never look good so what to do? Braid those bitches!!! The past few months I feel like I have been going through an early mid-life crisis. All my clothes look awful, my skin hates me, and nothing I do to my hair ever looks as cute as I imagine it looking. Even my go-to braided pony....fail! I look like a child again! So I decided to step up my braiding skills and master the "dutch braid". Which I immediately fell in love with!! I LOVE any hairstyle that looks like you have slept on it. Something messy but cute is my everything and that is exactly what a dutch braid is! 


The dutch braid is essentially the exact same process as a regular braid. You criss cross the outside pieces under the middle piece of hair for a regular braid. -- You cross them over the middle piece for a dutch braid. Once you finish braiding in a dutch braid you will think....this chick is crazy because this is hideous! [[But wait!]] You have to then go back and pull out the pieces of the braid. Mess it up! It will look beautiful in the end. Promise

For this "do" you will put your headband in where you like it. If you want you can go ahead and tuck all your hair under and into the band. I know it sound weird and your thinking how will it stay? I can't really explain it..it just does! Just keep tucking until all your hair is secure. This hairstyle is super classy without any type of braid and if this is how you want to rock it, braid-less, then more power to you! 

For the braid you will take three pieces of hair, one from behind the band and two from in front. [[see below]] Begin your braid whichever way you please (regular or dutch). For the dutch I usually braid once or twice without pulling pieces of rest of the hair to begin the braid. Pull small pieces from each side of the band and keep crossing them over the middle piece. Don't worry if you have some small fly always stick out because you will pull it out and they will blend right in with the rest of the braid. When you finish the braid you can either secure it with a clear elastic band or just hold it with one hand and begin to pull it out with the other. Start at the bottom and pull one "loop" of the braid at a time working your way up to the beginning. I didn't have any little elastics, but I would recommend securing the braid with some type of elastic then just tuck the braid into the rest of your hair in the back. 
Once you get the hang of the braiding part this will literally take you 10 minutes or less. Talk about a savior in the morning when you wake up late and can't just throw it on top of your head. This is an extremely chic style to start your day!! 


Leave me comments or pictures if you try this style out! I would love to see!!

XO.
Elizabeth

Monday, January 19, 2015

Chicken Noodle Soup...with a soda on the side ;)

 Chicken noodle soup is good for the soul! Also good to sing about and dance too aaannnddd with a soda on the side! HA (I am super funny). But really, I have felt so crappy the past couple days and haven't had much of an appetite. When I don't feel well I love a big bowl of something comforting. I love chicken noodle soup but last night I roasted a chicken breast & some brussels with a bunch of random spices (because I need to go to the grocery store and that's all I had to eat) and thought chicken noodle soup...with roasted chicken!! This could be how people have been making homemade chicken noodle soup for ages but I felt like I had struck gold in my thought process!! 

Here is the cast of characters that I needed for the production:
Boneless skinless chicken tenders - you could absolutely use breasts but tenders seem easier to shred
32 oz. Low Sodium Chicken Broth
Whole Grain Pasta  - I used rotini but you can use whatever pasta your heart desires.
Carrots
Celery 
Water (not pictured)
1 Bay Leaf
Juice of one lemon
Onion
Garlic 
Spices for roasting the chicken (see below)


For my tenders I just threw a bunch of spices that I had in the pantry in a bowl
Garlic salt - Cayenne - Oregano - Chili Powder - Cumin - Salt & Pepper


Line a baking sheet with some parchment to make clean up a little easier and then drizzle a little olive oil & cover the tenders with your spice mixture. Roast your tenders at 375 for about 25-30 minutes and flip the tenders half way through.


Next cut up your veggies - I love carrots so I tried to keep the chunks pretty big. On the other hand I DO NOT like celery but I know it is essential in Chicken Noodle Soup so I tried to cut them as small as possible. Dice up the onion and then lots and lots of garlic. (garlic makes my heart SO happy)


Add the veggies to a large pot with a little bit of olive oil and saute for about 10 minutes.


While your veggies are getting nice and yummy soft you can go ahead and cook the pasta. You could absolutely cook the pasta in the soup. However, I am making this with the thoughts of having it for lunch for the next few days and cooking the pasta separately allow you to add it to the soup as you eat it and it wont get soggy. No one likes soggy chicken noodle soup!


After 10 or so minutes sauteing your mis en plase (Im so fancyyyyy you already know - aka onions|celery|carrots) add the garlic and let that become fragrant. It should take about 2 minutes. Be sure not to burn the garlic. Burnt garlic is gross.


Add the whole carton of chicken stock + 4 cups of water. I had some vegetable broth in the fridge that needed to be used so I used 2 cups of water + 2 cups of the veggie broth. Add in the bay leaf and let it cook for about 15 minutes or until the veggies are nice and tender.


While the soup is coming together shred the chicken. Which by the way smells amazing and pulls together SO easily. Roasting the chicken with all the yummy spices really takes the soup up a notch I think because it gives a whole other layer of flavor in the soup.


Pour in the chicken with the juice of one whole lemon and a bunch of black pepper to finish the soup.


THIS SOUP GAVE ME LIFE Y'ALL!!! Really..it was so amazing!! I added a big tear of sourdough bread because you need it..right?! But really this soup has officially become my favorite Chicken Noodle Soup. It was a little spicy and hearty and light all at the same time...if that makes any sense?? All I know is you need to try this recipe!! I can definitely say that this soup is helping my nasty cold that I can't seem to shake! Chicken noodle soup on people...
[let it rain & clear it out]


XO.
Elizabeth

Sunday, January 18, 2015

How to: Hostess with the Mostest

I love having house guests! There is just something so fun about hosting people for a day, weekend, or extended stay in your home. For me, it is a chance to cater to, bake, pull out my fancy plates, and feel like our home could be a swanky bed and breakfast. With no children and a hubby who works basically all day every even in the small apartment that we are in now it can feel empty at times. I have been looking forward to hosting some girlfriends for the weekend since we moved to Oklahoma City back in October. At my "going away" dinner in Virginia we got out the calendar with my friends and began to plan a visit. The time has finally come (and left :/ ) and I have to say it was an amazing weekend filled with great food, drinks, basketball watching, star gazing, unlimited laughs and sassy dance moves.
I love to think in advance about having people come stay with us and think of little things to do to make them feel at home, away from home. I created a cookie recipe last weekend for Cookie Sunday (Whole Wheat Chocolate Chip Cookies with Sea Salt) with this stay in mind and they were such a hit. I used my freezer stash of cookie dough to have handy for some freshly baked cookies upon arrival and a then few again for some lazy couch time (or recovery time) on Friday afternoon. Basically...cookies on demand. Which could possibly be the greatest creation ever. or worst...as my pants like to remind me! 
But don't you worry that pretty little head of yours because that is not all the sweet treats that we indulged in. Who can pass up the Hot Donuts Now sign calling from the Krispy Kreme drive through??? Well not these gals! 

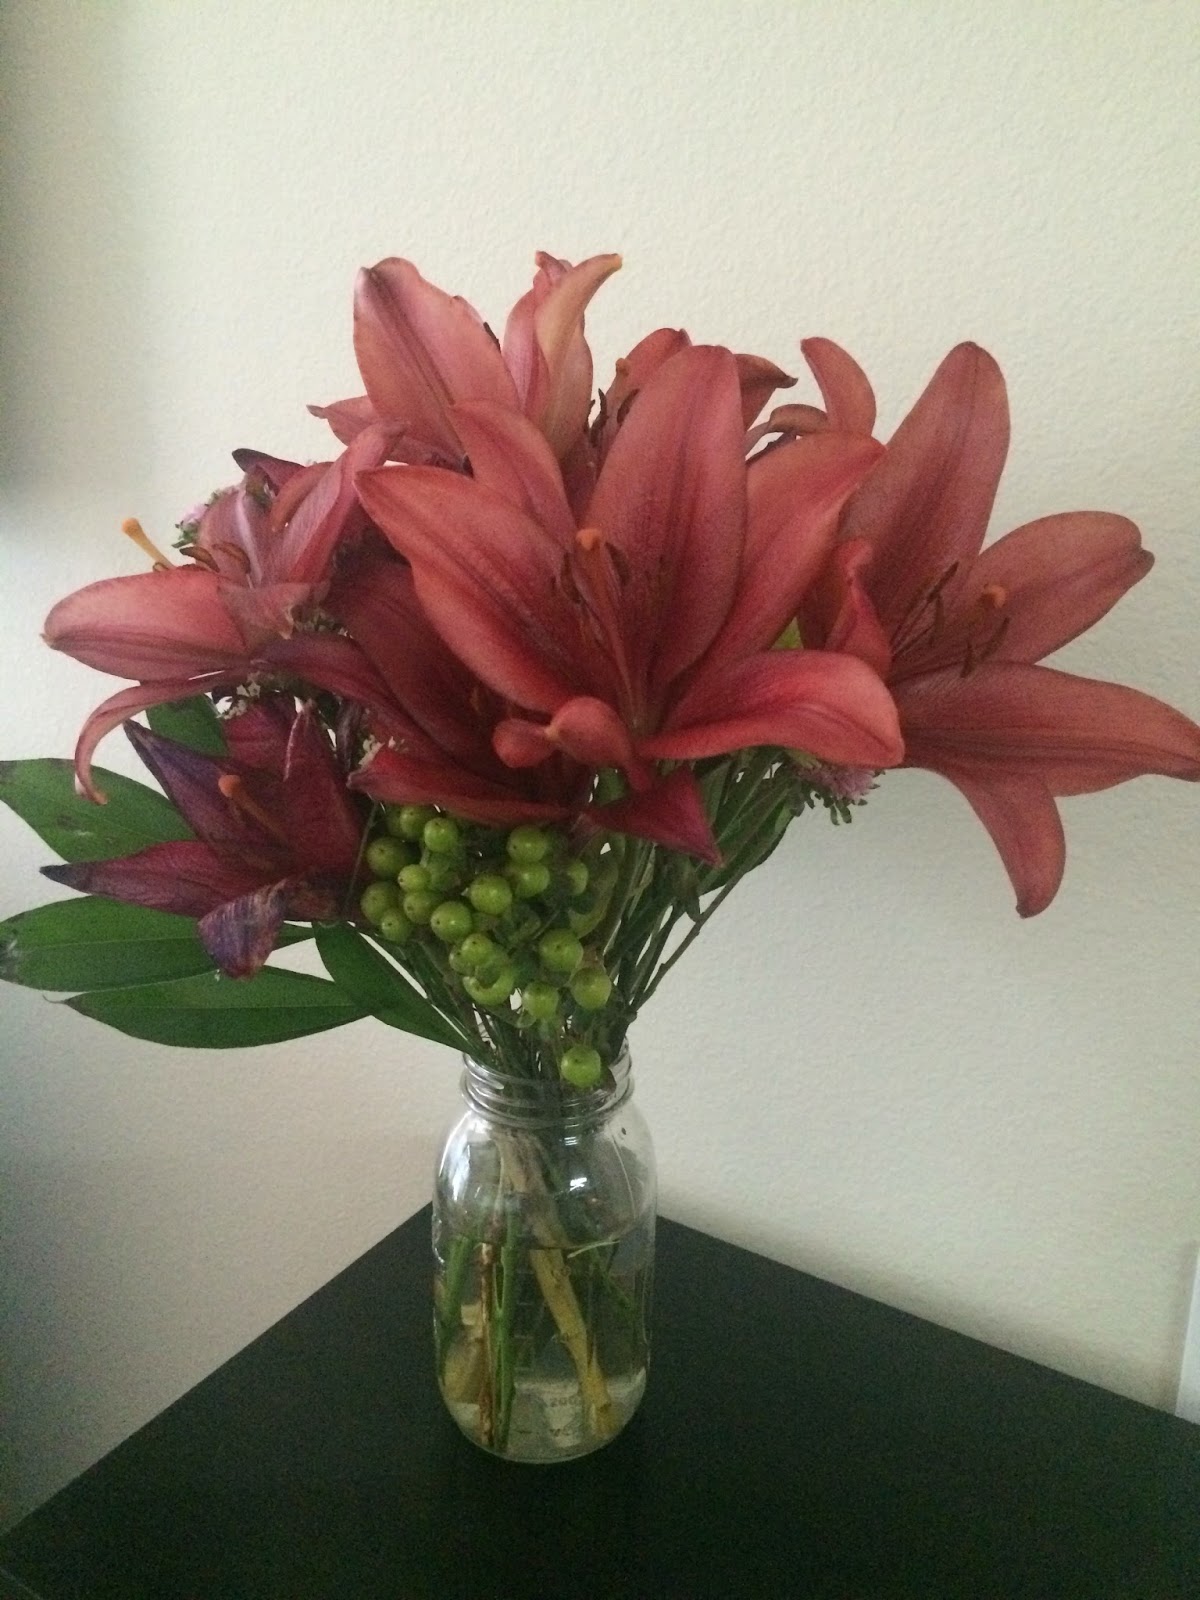
In addition to a homemade (or not so homemade) treat for your guests I think its nice to have some fresh flowers in the room that they will be staying in. Nothing says Hi! I'm so glad you are here like fresh flowers. 

Another little thing I like to do for my guests is spray the clean sheets|pillow cases with some Aromatherapy mist. The one I have been loving is a pillow mist from Bath and Body Works with lavender and chamomile oils. Lavender is such a soothing scent and I want my guests to feel as relaxed as they can when they lay down for the night. 

And of course a stocked bar is always a must for our grown up guests :) My girlfriends and I love a good glass of wine...or 5 so I wanted to make sure to have a couple different options from a good sauvingnon blanc, pinot grigio [my personal favorite], merlot for the red wine lover in the group & of course champs which is chilling in the fridge. 

In addition to these little treats for your guests, fresh sheets & towels as well as a variety of toiletries and extra blankets are a nice way to make them feel at home. I am a foodie at heart so in my opinion having good food in the house is a must! Whether you like a nice veggie tray, artisan cheese board, or some yummy chips and dip, food is an easy way to please and impress your guests. 
I had SO much fun this past weekend!! I miss VA and being around all of our friends and family but this little visit from a few girlfriends was so very appreciated. Here are a few pictures of our weekend.
XO.
Elizabeth


Here there hubs on NBA TV!!!